


Server Management
Operational
functions
functions
Management
functions
functions
Emergency
functions
functions
Deployment
tutorial
tutorial
 |
|
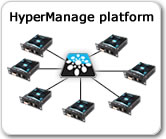
This little tutorial shows how to connect a PC to an HyperNode KVM, to enable remote control of the PC via the HyperManage platform. Click on any image below to see a bigger version of it. On the PC, locate the LAN cable, the monitor plug and a free USB port: 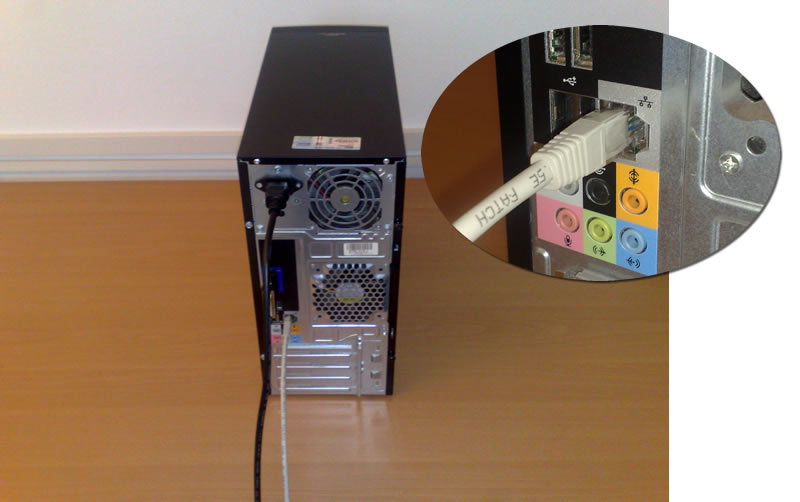 Disconnect the LAN cable from the PC and plug it into the WAN port of the HyperNode. Use a LAN straight cable to connect the LAN port of the HyperNode KVM to the PC. In this way the HyperNode KVM is connected in pass-thru on the PC LAN, using its embedded Gigabit Switch. Connect the Video Cable to the Video Card of the PC. Use the proper connector, DVI or VGA for this connection. Connect the USB male cable to a free USB port on the PC. This will supply needed power to the HyperNode to work, and will emulate the remote Keyboard and Mouse. If the PC is not supplying enough power to run the HyperNode, the external power supply will be needed. 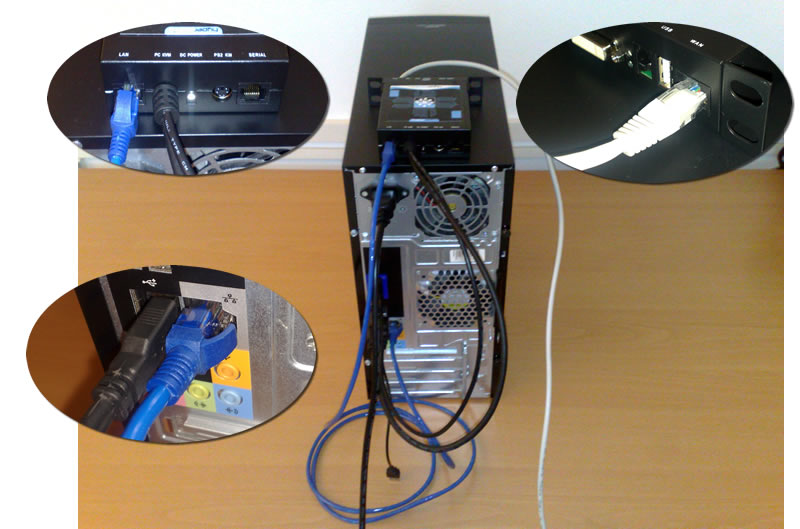 Register the HyperNode KVM to the HyperManage Server using the HyperNode Installer utility. Directly from the HyperNode Installer utility or using HyperManage WEB access, you will be able to configure the following services for PC (based on the service list you have subscribed):
A local keyboard and mouse can be connected directly on the PC using either PS2 or USB ports. 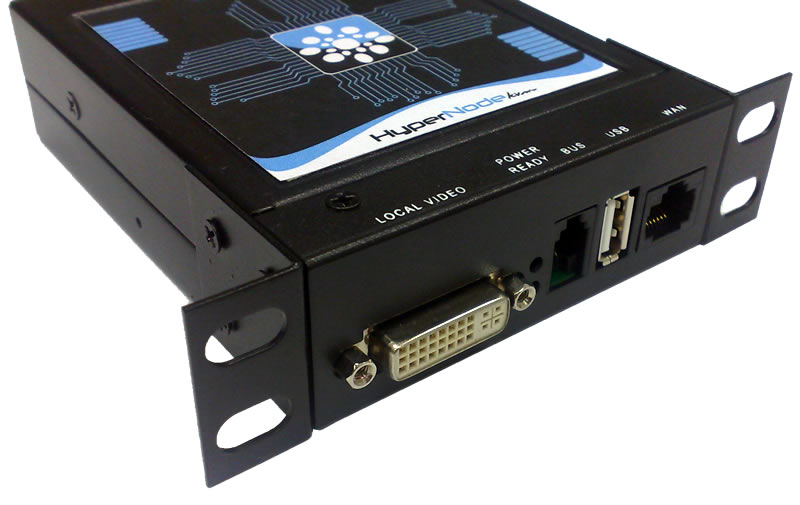 Naturally any kind of PC or Servers can be connected using the same procedure. |
 |